

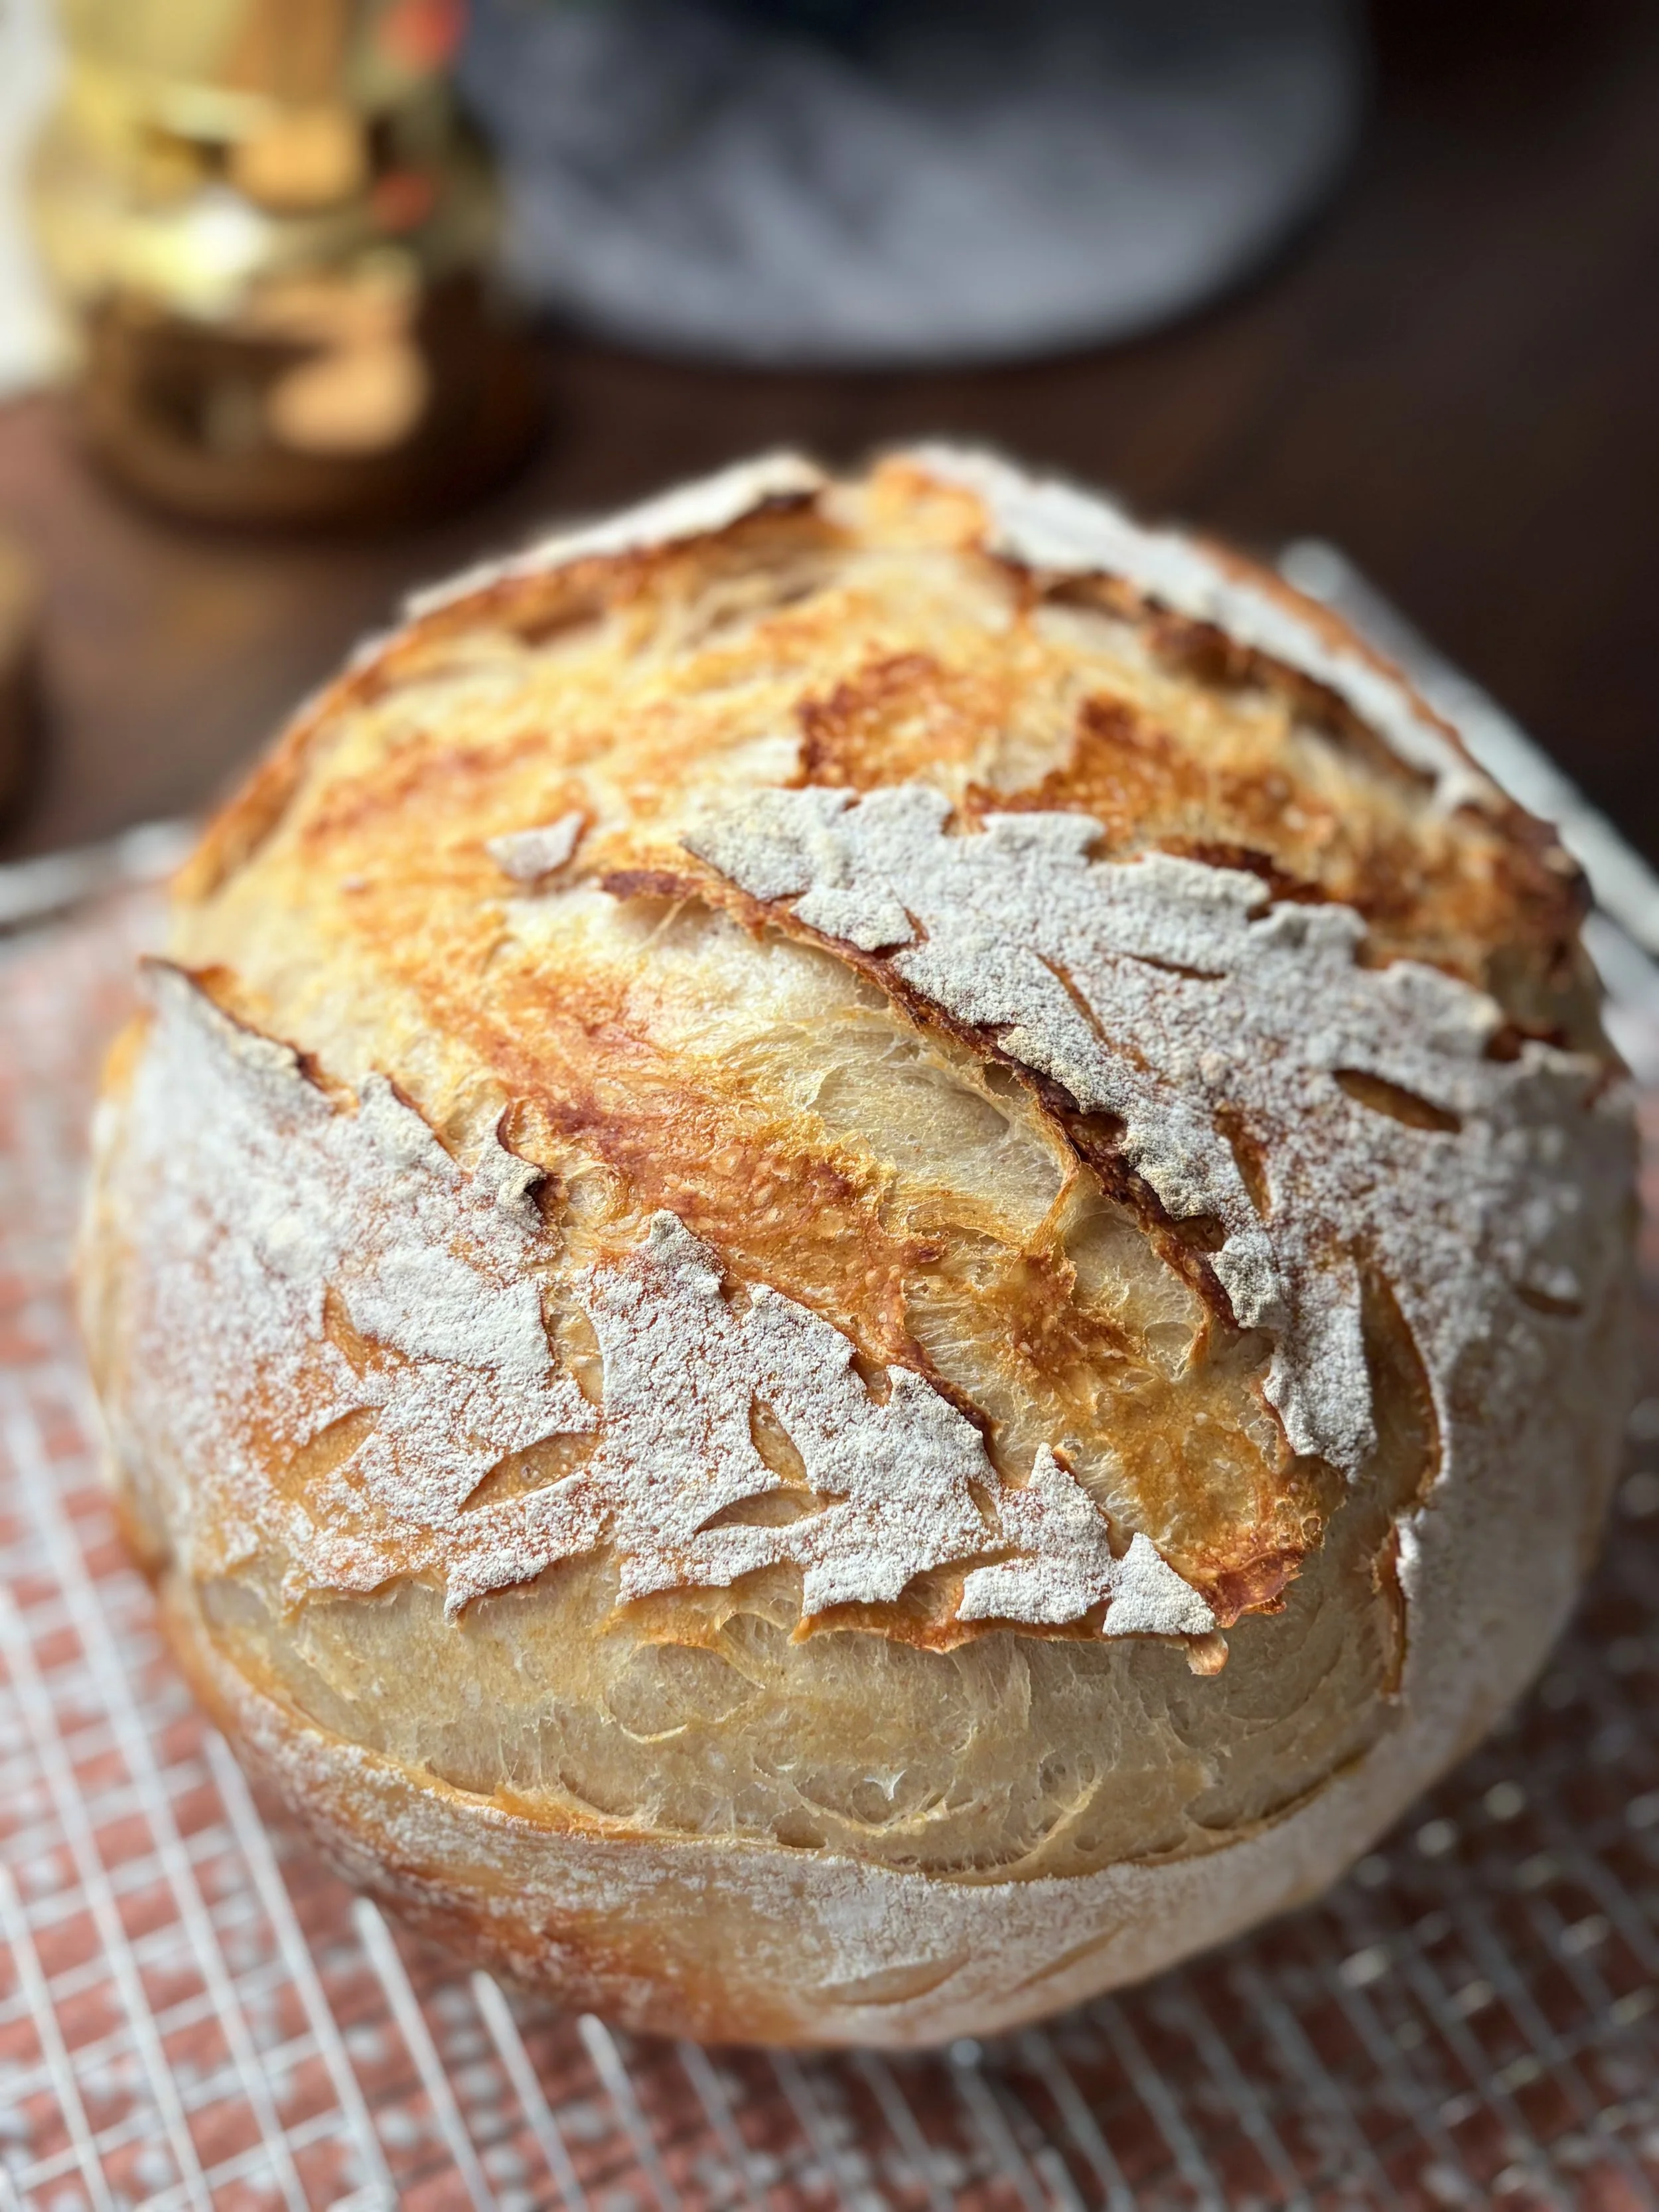
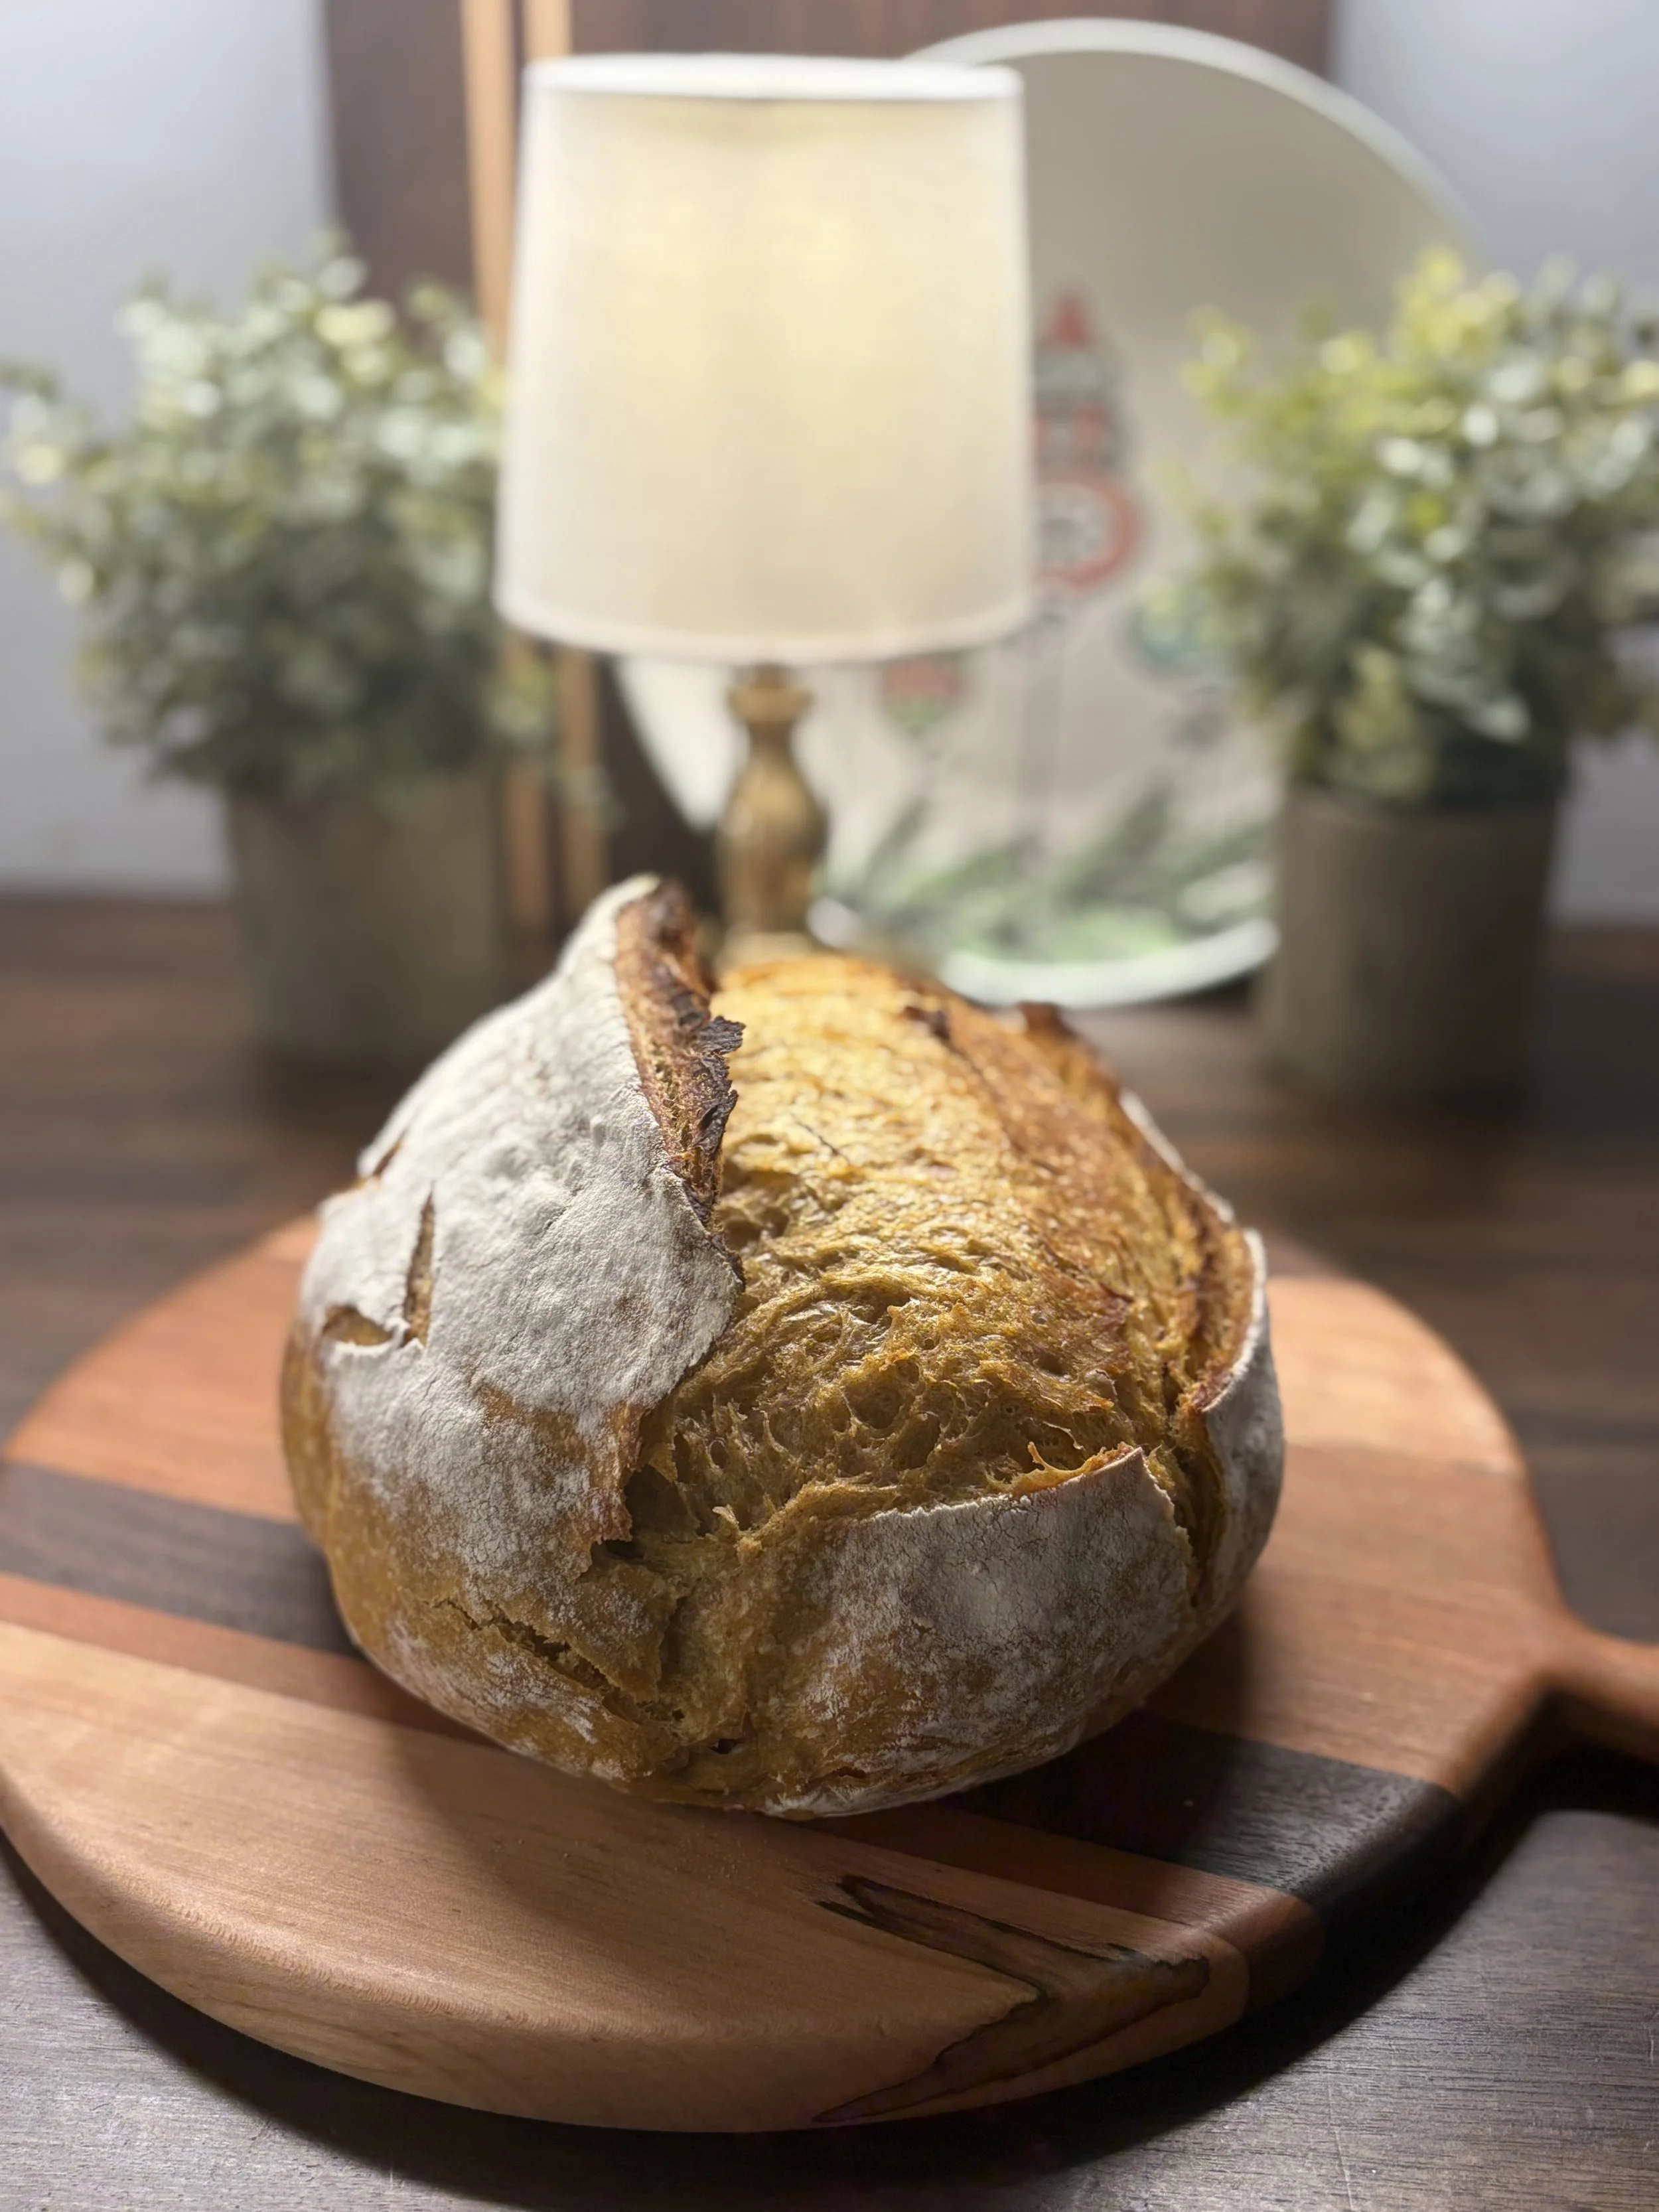
Sourdough Bread
About two years ago, I dove headfirst into the world of sourdough bread, and honestly, it changed everything. One bite of a fresh, tangy, perfectly baked loaf straight from my own oven made me question everything I thought I knew about bread. The crust that cracks just right, the soft, chewy crumb, the subtle tang that only comes from a naturally fermented starter — it’s like your taste buds suddenly wake up and say, “Where have you been all my life?”
Making sourdough is more than just baking; it’s a little adventure every time. From feeding your starter to kneading the dough and watching it rise, each step has a rhythm that’s both soothing and exciting. There’s something almost magical about transforming simple ingredients — flour, water, salt, and time — into a loaf that’s golden, fragrant, and full of life. And let’s not forget the health benefits: sourdough’s natural fermentation makes it easier on your digestive system and gives your gut a little love with every slice.
The best part? Every loaf is a tiny celebration. Whether it’s toasted for breakfast, slathered with butter, or served alongside your favorite soup or salad, sourdough brings a sense of joy and satisfaction you just can’t get from store-bought bread. Once you taste the difference, there’s no going back — it’s crunchy, chewy, tangy, and utterly addictive. Making sourdough at home isn’t just cooking; it’s creating an experience that fills your kitchen with warmth, aroma, and pride.
Recipe Card
Servings: 8 |
Time: 18 hours (including fermentation)
-
120 g active sourdough starter
600 g distilled water
750 g bread flour
12 g salt
-
Mixing: Using a scale, in a large bowl, measure the starter and water, and mix very well until starter is well dissolved. Add the flour and salt. Mix very well using a danish dough whisk. After the dough is formed, use your hands to finish mixing the dough until all the flour has been incorporated. Cover with a towel and let rest for 30 minutes.
2. Stretch and fold: Stretch the dough and fold over itself, give a quarter turn, stretch
and fold over again, repeat until you have gone all the way around (total of 4 turns).
Cover with a towel and let rest for 30 minutes. Repeat the stretch and fold process 2
more times, as described above, covering and resting for 30 minutes in between each
stretch and fold.
3. Bulk Fermentation: After the last one, cover the bowl with plastic wrap and a towel,
and place in a warm spot, letting it rest for at east 8 hours. Dough should have
doubled in size and surface should be tight.
4. Shape: Once bulk fermentation is completed, lightly flour your work surface and flip the bowl to let the dough peel out from the bowl. Gently stretch the dough out to form a square. Fold the edges of the dough in thirds toward the center, then roll to form a rough ball (for a boule) or oval (for a bâtard). Flip the dough seam-side down and use your hands or scraper to gently pull the dough toward you in small circular motions to build surface tension. You should see the surface smooth out and tighten.
5. Proofing: Place your shaped dough in a floured banneton (basket), seam-side up if you plan to flip it before baking. Seal the final seam with gentle pressure and folding into itself. Cover it and let it proof either, at room temperature for 1–3 hours, or In the fridge overnight (cold proof) for 8–16 hours — which helps develop flavor and makes scoring easier.
6. Scoring and Baking: Place a cast iron dutch oven in the cold oven, and preheat the oven to 500° F, and let heat for 1 hour. Meanwhile, flip the dough out onto parchment paper, and using a sharp lame (razor) score the top of the dough at a 45° angle. Grabbing by the parchment paper, place the dough in the dutch oven and cover with the lid. bake for 20 minutes. After the 20 minutes have passed, remove the lid and reduce the heat to 450* F, and bake for another 20 minutes, watching for the surface not to get burnt.
7. Cooling: After removing from the oven, carefully place the bread on a cooling rack and allow it to cool down for at least an hour before cutting.